Every school has a different rhythm. A rural K to 12 campus with a single gym feels nothing like a downtown secondary school with thousands of students and a health sciences pathway. Yet when a cardiac arrest happens on school grounds, the needs become universal. Quickly recognize the emergency, start chest compressions that move real blood volume, deliver a shock with an automated external defibrillator, and direct crowds away while someone retrieves the AED. Good training equipment sets the stage for this to happen smoothly. The right mix of tools turns a once-a-year requirement into a habit that students and staff carry with them.
This guide looks at how Canadian schools can choose and use AED training equipment in a way that engages learners and respects budgets, provincial guidance, and day to day realities. It draws on practical classroom experience, the quirks of Canadian procurement, and the details that only come into focus when you run a drill in a noisy cafeteria.
Why readiness in schools is different
Adult workplaces often train a small core of first aid attendants. Schools train the whole community, or at least broad sections of it. That shift changes the equipment you select and the way you teach.
Teenagers learn well through movement and immediate feedback. They also mimic what they see. If the device in training looks and sounds like the unit on the wall, they will use it with less hesitation in a real event. Younger students need scaled visuals, shorter sessions, and clear, kind reinforcement. Teachers need equipment that resets in seconds, stores compactly, and can take a beating. Custodians, coaches, and office staff add another layer of reality, because a cardiac arrest rarely happens during a scheduled block with a quiet room and perfect lighting.

Canadian context matters too. Provinces and territories vary in how they fund school health programming, how they incorporate CPR into curriculum, and what they expect from boards. AEDs in public access locations are covered by general safety frameworks and electrical standards, with many boards also following CSA guidance for medical electrical equipment. Some provinces have registry or maintenance expectations for public AEDs, and several boards insist on bilingual voice prompts for public spaces. These details influence the best choice of AED trainer and accessories.
What an effective training setup looks like
The ideal setup mirrors your installed AEDs, fits your learners, and lets instructors scale. A good program uses CPR training manikins that give real feedback, AED trainers that match the school’s model closely, and modest tech that makes practice sticky without creating tech support headaches. It also includes the mundane parts that keep sessions from stalling, such as spare training pads, alcohol wipes, barrier devices, and a way to track who trained and how they performed.
There is a difference between glossy catalog kits and the equipment that actually survives a semester. A vendor bundle that looks complete may still leave you short on electrode pads two weeks before a certification deadline. In Canada, shipping times to remote schools can stretch, especially in winter, so spares matter. Batteries and training pads are consumables. Budgeting for replacements, not just initial purchase, avoids surprises.
AED trainers that make the leap from classroom to hallway
The AED that lives on your wall has a specific layout, voice script, and indicator lights. Muscle memory and visual memory count. When possible, pick AED training equipment Canada suppliers offer that matches your installed device brand and model. Most manufacturers sell purpose built trainers with nearly identical cases and controls, but disabled shock capabilities. Third party universal trainers exist, and they can work well for general skills, yet you will get the best transfer when the trainer looks and behaves like the real unit.
Features that tend to help in schools:
- Voice prompts with clear, paced instructions in English and French. For boards that require bilingual signage, matching the trainer’s language to public units reduces confusion. Child mode that adjusts energy level prompts and pad placement, or child specific training pads. Elementary schools use this a lot, and high schools sometimes want it for athletic scenarios. Pause and scenario selection buttons that let instructors replay a tricky segment without restarting the whole sequence. Teachers use this constantly during skill stations. Durable training electrodes with a standard 3 month classroom life under steady use. Adhesive that lasts more than a few sessions saves time. Some vendors allow reactivation with wipes or sticky gel, but this varies. Simple power sources. Rechargeable packs are greener, yet replaceable AA batteries are easier in a pinch, especially in smaller communities.
Shocks are simulated, and that is the point. No training AED should deliver energy. What the trainer should deliver is timing. The delays built into prompts teach people to keep compressing until analysis starts. A trainer that jumps too quickly can teach the wrong rhythm.
CPR manikins that students actually want to use
The first time a Grade 9 class gathers around a manikin, you find out quickly whether the equipment invites hands on practice. A manikin that feels like a plastic toy gets a few tentative pushes, then attention wanders. One with a chest that offers realistic resistance, visible chest rise for ventilation, and a way to confirm depth and rate anchors attention and turns practice into a quiet competition.
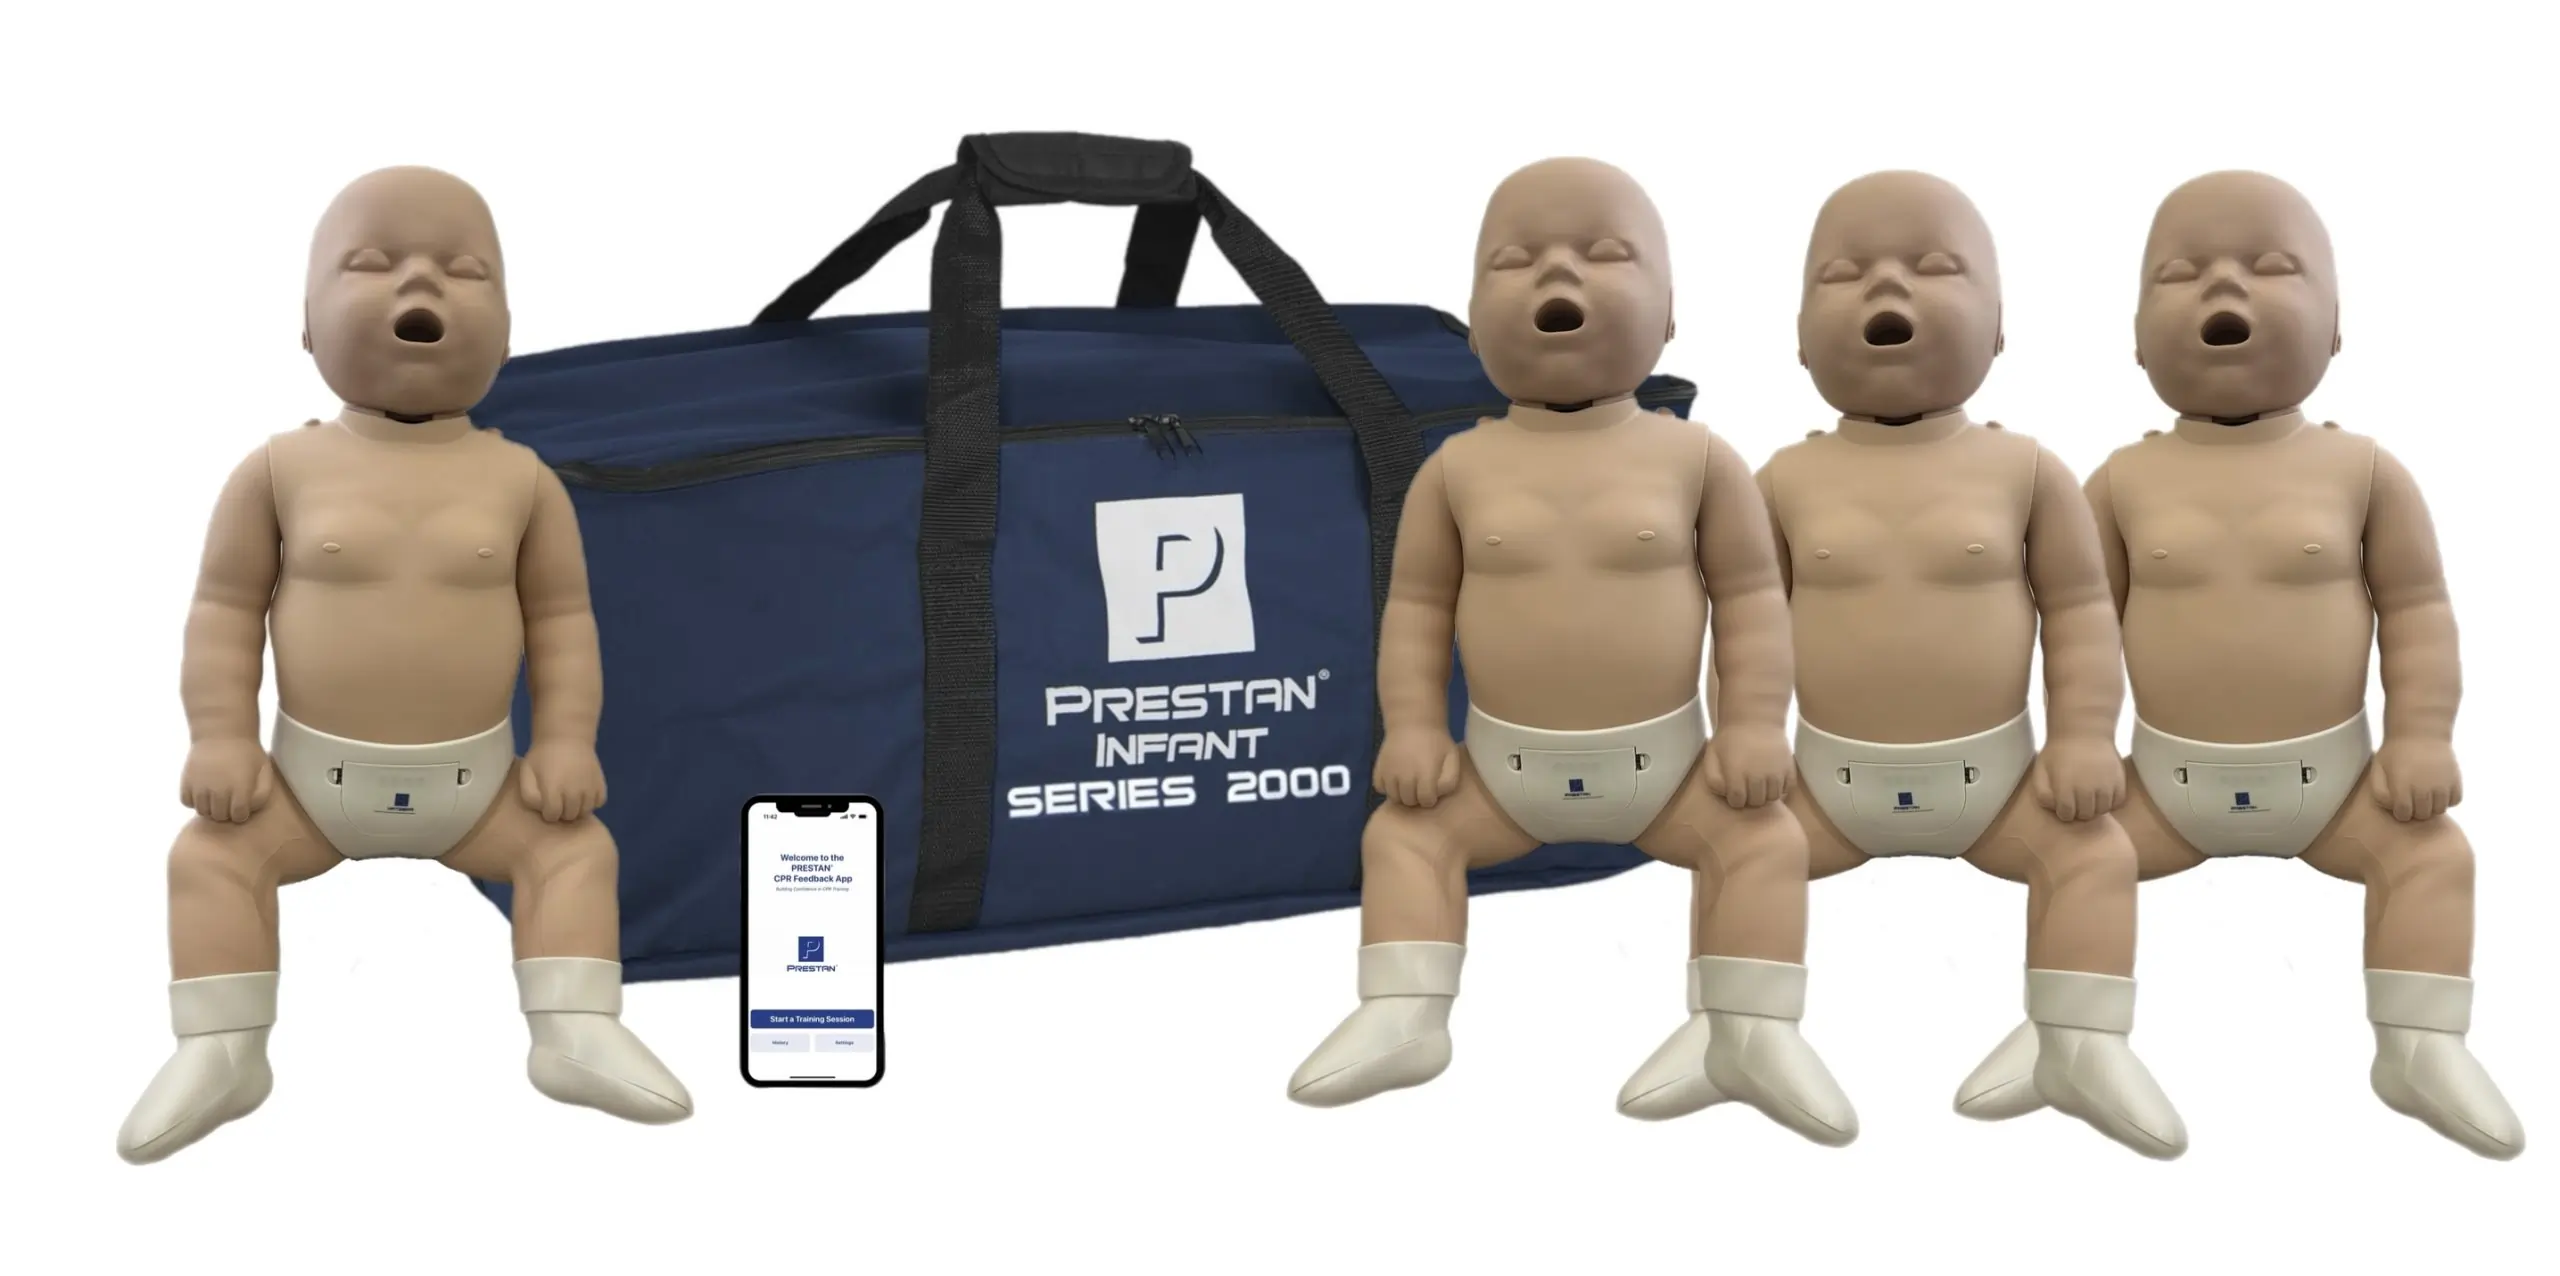
CPR training manikins Canada wide now come in three broad tiers. Entry level torsos are light, easy to store, and inexpensive. They are good for short awareness sessions and for travel. Mid tier manikins add feedback lights or basic app connectivity that scores compression depth, full chest recoil, and rate. High fidelity units add sensors for hand position, flow measurement for ventilations, and sometimes a display that instructors can monitor wirelessly. In schools, mid tier tends to hit the sweet spot. Students get instant green light rewards when they meet targets, and instructors can see which table needs help without hovering.
Choose a manikin that supports adult and child compression depths, or add a child sized model. The newest Canadian recommendations keep the focus on high quality compressions, with ventilations taught based on program level. If you teach rescue breathing, look for easy swap lungs and faces, separate oral and nasal passages to reduce cross contamination, and a way to disinfect between classes. If you only teach hands only CPR, you still benefit from a manikin with recoil feedback, because the feel of full release is not intuitive.
Instructor packages that save time
CPR instructor packages Canada retailers sell often combine two to six manikins, an AED trainer or two, spare pads, lungs, barrier masks, and carry bags. The value depends on the quality of each item, not just the count. For a busy phys ed department or a teacher leading a health elective, a well chosen bundle can cut setup time in half. I have unpacked kits that needed an hour of fiddling before first use, and others that moved from box to first compression in five minutes. Look for clear labeling, preinstalled lungs, and chargers that handle multiple devices at once.
Packages that include a rolling case make life easier in large schools. If you need to move between the library, a portable, and the gym in one day, wheels help, and the case doubles as storage that keeps dust out. For district level teams that share gear between schools, hard shell cases with foam inserts survive the back of a van in February.
A tight, realistic kit for school wide drills
When the goal is a whole school drill, the difference between smooth and chaotic often comes down to spares and layout. A compact cart with two AED trainers, four manikins, a timer, and a portable speaker can turn a gym into a set of practice bays in under ten minutes. Coaches appreciate clear station markings and 90 second cycles. A librarian will be the first to tell you that if your equipment cables trail across the floor, they will catch a student running late to geography. Short cords and battery powered devices keep spaces safer.
Here is a concise kit that covers the essentials for most schools:
- Two AED trainers matched to the installed AED model, with adult and child training pads Four mid tier feedback manikins, torsos with visible indicators and swap lungs A set of barrier masks, gloves, alcohol wipes, and a sharps safe for demonstrations A portable rechargeable speaker for voice prompts or metronome beeps at 100 to 120 per minute A rolling hard case with compartments for spares, including extra training pads and batteries
Those five elements, set up in two facing lanes, support groups of twenty to thirty students rotating through in ten to fifteen minutes. More advanced classes can add airway manikins or a trainer with ECG scenarios for leadership students or health science pathways.
The role of emergency training equipment beyond AEDs
AEDs and CPR tools get most of the attention, but Emergency training equipment Canada suppliers carry additional items that make sessions whole. Choking trainers that simulate abdominal thrusts let students feel the mechanics without risk. Bleeding control simulators use replaceable veins or hand bulb pumps to create controlled bleeding for tourniquet and wound packing practice, which aligns with many boards adding STOP THE BLEED style content. First aid trainers for epinephrine auto injectors, inhalers, and glucose gel are low cost, high value add ons that normalize lifesaving actions in common school scenarios.
Some schools debate whether to include simulated blood or realistic injury moulage. For younger grades, restraint is wise. For senior students, realism can increase engagement as long as consent and opt out options are clear. I have seen a Grade 11 outdoor ed class rise to the challenge of a staged athletic field incident with well placed fake blood and a loud whistle. They learned scene leadership, not just hand placement.
Making it engaging without drowning in tech
Apps that pair with manikins or AED trainers can be excellent. They show compression graphs, track class averages, and export results. The risk is that the tech becomes the star, and the mechanics slip. A calm rule helps: if a feature directly improves feedback or saves setup time, consider it. If it needs Wi Fi, admin logins, or regular firmware updates, plan for support before you commit.
Simple gamification works. Two tables race to keep green lights lit for two minutes without a break. A scoreboard in dry erase marker tracks the best recoil percentages in the class. A quiet student who beats the teacher’s score earns a small prize. These moments stick far longer than another slide deck.
Hygiene, maintenance, and the unglamorous bits
Schools juggle cold and flu season, pandemic policies, and parent expectations. Equipment choices should make hygiene easy. Individual face shields or masks for ventilations reduce cross contamination. Swappable faces and lungs let you change components between classes. Alcohol based wipes with at least 70 percent solution clean surfaces effectively. For hands only programs, gloves and wipes still provide reassurance.
Training pads wear out. Adhesive loses tack on dusty gym floors. Plan a ratio of one set of adult training pads per AED trainer per two to four classes, depending on session length and class size. Child pads last slightly longer because they see fewer compressions during practice. Recharge batteries the night before big sessions. Keep a small stash of AA batteries for emergencies in winter when chargers misbehave.
Actual AEDs on the wall require a different maintenance plan. They need monthly visual checks, pad expiry tracking, and battery replacement on schedule. Students should not train with live units, but seeing the real cabinet, alarm, and signage during drills helps. Some boards place tamper tags on cabinets and monitor opening through the school radio system. Include those realities in your practice.
Budgeting with a Canadian lens
Prices vary by brand and vendor, and shipping affects remote communities. A starter package with two decent manikins and one AED trainer might sit in the 900 to 1,300 CAD range. Mid sized bundles with four manikins, two trainers, and accessories often land around 2,500 to 4,000 CAD. High fidelity gear climbs quickly, and most schools do not need it for general student training.
Think in three year cycles. Consumables for that period typically run 15 to 30 percent of the original purchase, higher if your school trains large cohorts each term. Purchasing through provincial or board approved lists can cut costs and simplify warranty support. Many vendors offer education pricing, and some boards can access federal or provincial grants for community safety or health promotion, particularly when AEDs are made available for public use after hours.
When comparing quotes, ask whether shipping and duty are included, even for domestic shipments. A surprising number of Canadian resellers drop ship from US warehouses. That can add brokerage fees unless clarified. Buying from Canadian warehouses reduces delays, and it helps ensure bilingual documentation.
Equity, access, and language
Not all students have the same relationship to emergency response. Some come from families with mistrust of authorities. Others may have religious or cultural concerns about mouth to mouth contact. Training that respects those realities builds inclusion. Hands only CPR remains a powerful message because it focuses on what everyone can do quickly without equipment. Barrier devices address ventilation concerns. For language, bilingual voice prompts and handouts are common, but schools with high newcomer populations may benefit from translated one page guides in additional languages. Visual guides with minimal text help too.
Schools in northern and remote regions face logistics that urban schools do not. Shipping takes longer, power can be intermittent, and classroom space is precious. Choose equipment that works without constant charging, stores compactly, and survives temperature swings in transit. CPR and first aid training kits that bundle items in soft bags may fare better in bush planes than hard cases, but balance that against protection needs.
Assessment that stays humane
Certification courses have pass fail lines. School based training should still challenge students, but it can keep an encouraging tone. Set clear targets for compression depth, rate, and full recoil. Use manikin feedback to drive self correction. Let students see their https://lorenzoiozu840.huicopper.com/defibtech-aed-training-units-across-canada-setup-maintenance-and-tips own data. For those who struggle, smaller groups or one on one coaching often uncovers simple fixes, such as elbow lock, shoulder placement above the chest, or using body weight instead of arm strength.
A short debrief after drills makes the learning real. Ask what it felt like to push hard enough to light the indicator. Have someone describe the moment the AED said do not touch the patient. Connect the skills to stories. A teacher who used an AED on a colleague in the parking lot can talk about how the device kept giving prompts when brain fog hit. These conversations are the glue between practice and action.
Running a realistic school drill
You do not need a massive production. Short, repeatable drills build confidence and muscle memory.
- Announce a drill scenario and location, then start a two minute timer with a metronome at 110 compressions per minute Assign roles on the fly, a compressor, an AED retriever, a caller to 911, and a crowd controller Deliver compressions until the AED trainer arrives, swap roles quickly at 30 to 40 second intervals to maintain depth Follow the AED trainer prompts, making sure everyone stands clear during analysis and simulated shock Debrief for one minute, highlight what worked, and run it again with swapped roles
In high schools, adding a radio or public address practice makes it feel real. In elementary settings, gentle coaching and clear signals matter more than speed.
Where to source equipment in Canada
Schools benefit from working with vendors who know Canadian boards, bilingual packaging, and Canadian warranties. Many national safety suppliers stock AED trainers that match the most common public access AEDs, along with CPR manikins and accessories. Regional distributors often provide better turnaround for service and consumables. If your board uses a preferred vendor list, start there. Ask for demo units before you buy. A ten minute trial on your gym floor will tell you more than a brochure.
Look for suppliers who can assemble CPR instructor packages Canada educators actually use, not just generic boxes. Ask whether they can pre label compartments for pads, lungs, wipes, and gloves. For emergency spares, some boards centralize consumable inventory at the maintenance shop or health and safety office. A monthly or quarterly pull system prevents last minute scrambles.
If your school runs community classes after hours, consider a second, lower cost set of manikins and a universal AED trainer to reserve the main set for daytime classes. This reduces wear and simplifies scheduling.
Bridging practice with installed AEDs
Students should know where the school’s real AEDs live, what the cabinets look like, and how to minimize crowding in those spaces. Walk the routes. A student who can fetch the nearest AED from outside the library in under thirty seconds on a calm day will move faster and safer during an emergency. If the school’s AED includes a child mode or child pads, show them in context. Some devices use a key or a slider to switch modes. Others have separate pediatric pads. Practise that switch on the trainer every time you teach.
Label practice spaces with the same symbols used on public cabinets. The international heart with a lightning bolt is widely recognized. Mirrors help too. If your installed AED speaks French and English, set the trainer to the same order of prompts when possible.
Safety around athletics and outdoor spaces
Gyms, fields, and rinks are where many schools worry. Place practice scenarios where athletes actually collapse, beside the free throw line, near the soccer bench, or on the ice beside the boards with mats for safety. Coaches appreciate drills that include the logistics of getting the AED past a crowd at a tournament. One hockey program I worked with staged a drill between periods, using a real cabinet alarm to mimic the sudden noise of an actual grab. The players later said they remembered the alarm more than any lecture. That sound now signals action for them.
Outdoor AED cabinets need weather protection, power, and sometimes heated enclosures. Training should reflect the extra seconds to reach those units, and the need for a runner who knows the path, especially in winter.
A brief field note from a Grade 9 class
In a Toronto area school, we set up four mid tier manikins with light feedback and two AED trainers that matched the wall units. The teacher divided a large class into six groups. The first round was a mess, lots of laughter, and shallow compressions. By the third round, the lights were mostly green, and the quietest student hit perfect depth and rate for a solid minute. The group cheered. Weeks later, that same student told me she had shown her parents the chest recoil trick on a throw pillow. Engagement is not about flashy gear. It is about clear, immediate wins that stick.

Standards, liability, and sensible caution
AED trainers and CPR manikins are training tools, not medical devices. They are safe for classroom use when instructors supervise and follow manufacturer guidelines. Real AEDs must remain accessible and ready for emergencies. Locking them away for fear of misuse undermines public access goals. Most modern units will not advise or deliver a shock unless they detect a shockable rhythm, and Good Samaritan protections exist across Canada. Boards should still set clear policies for maintenance, training intervals, and post incident debriefs.
For technical alignment, many programs follow guidance from the Heart and Stroke Foundation of Canada, which aligns with international resuscitation councils. Manufacturers update trainer scripts after guideline revisions, usually on multi year cycles. If your trainers are older than a few cycles, verify that prompts and compression rates match current teaching.
Sustainability and the long view
Equipment that lasts reduces waste and total cost. Manikins with replaceable skins, faces, and lungs extend life. Rechargeable batteries cut landfill, but only if the charging routine fits school rhythms. Durable carry cases reduce damage. When gear finally ages out, ask vendors about recycling programs. Some accept old manikins and electronics for responsible disposal.
More important than hardware, sustainability means building a culture where students expect to act. A yearly drill, a poster beside the AED cabinet, and a simple mention at assemblies keep the idea alive. The equipment makes that culture tangible. It turns good intent into practiced skill.
Bringing it together for your school
Start with what you have. Map your AED locations, confirm device models, and check bilingual settings. Choose AED training equipment Canada suppliers offer that mirrors those units. Add CPR training manikins that give students feedback they can trust. Round out your setup with CPR and first aid training kits that match your program’s scope. Pick instructor packages that save you time rather than adding clutter. Keep a small budget line for consumables and a calendar reminder for reorders. Build drills that are short, repeatable, and a little bit fun.
The payoff is not just a better score on a manikin. It is the office assistant who walks with purpose to the cabinet, the Grade 11 student who starts compressions without prompting, and the coach who guides the room with a steady voice. Equipment shapes practice. Practice shapes response. And in those few urgent minutes, that preparation can change everything.
CPR Depot Canada — Business Info (NAP)
Name: CPR Depot CanadaAddress: 340 Croft Dr, Tecumseh, ON N8N 2L9
Phone: +1-877-570-7322
Website: https://cpr-depot.ca/
Email: [email protected]
Hours:
Monday: 9:00 AM – 6:00 PM
Tuesday: 9:00 AM – 6:00 PM
Wednesday: 9:00 AM – 6:00 PM
Thursday: 9:00 AM – 6:00 PM
Friday: 9:00 AM – 6:00 PM
Saturday: Closed
Sunday: Closed
Open-location code (Plus Code): 8537+C8 Tecumseh, Ontario
Map/listing URL: https://www.google.com/maps/place/CPR+Depot/@42.3036,-82.8392601,17z/data=!3m1!4b1!4m6!3m5!1s0x883b2aedd5f271a1:0xfee6f8b7ab8f4110!8m2!3d42.3036!4d-82.8366852!16s%2Fg%2F1q6cff15h
Embed iframe:
Socials:
https://www.facebook.com/people/CPR-Depot-Inc/61575911496200/ https://www.instagram.com/cprdepotinc/ https://www.youtube.com/@CPRDepot
https://cpr-depot.ca/
CPR Depot Canada is a supplier of medical training products and related supplies serving customers across Canada.
The business is listed at 340 Croft Dr, Tecumseh, ON N8N 2L9.
To contact CPR Depot Canada, email [email protected] or call +1-877-570-7322.
Hours listed are Monday–Friday 9:00 AM–6:00 PM, with Saturday and Sunday closed.
For directions and listing details, use: https://www.google.com/maps/place/CPR+Depot/@42.3036,-82.8392601,17z/data=!3m1!4b1!4m6!3m5!1s0x883b2aedd5f271a1:0xfee6f8b7ab8f4110!8m2!3d42.3036!4d-82.8366852!16s%2Fg%2F1q6cff15h
Popular Questions About CPR Depot Canada
Where is CPR Depot Canada located?CPR Depot Canada is listed at 340 Croft Dr, Tecumseh, ON N8N 2L9.
What are the hours for CPR Depot Canada?
Hours listed: Monday–Friday 9:00 AM–6:00 PM; Saturday and Sunday closed.
What does CPR Depot Canada sell or provide?
CPR Depot Canada supplies medical and first aid training products and related equipment (product availability varies).
Do they ship across Canada?
The business markets to Canadian customers and operates as a Canada-wide supplier; confirm shipping options at checkout or by contacting [email protected].
How can I contact CPR Depot Canada?
Phone: +1-877-570-7322
Email: [email protected]
Website: https://cpr-depot.ca/
Map: https://www.google.com/maps/place/CPR+Depot/@42.3036,-82.8392601,17z/data=!3m1!4b1!4m6!3m5!1s0x883b2aedd5f271a1:0xfee6f8b7ab8f4110!8m2!3d42.3036!4d-82.8366852!16s%2Fg%2F1q6cff15h
Landmarks Near Tecumseh, ON
1) Tecumseh Town Hall2) Lacasse Park
3) Lakewood Park
4) WFCU Centre (Windsor)
5) Devonshire Mall (Windsor)